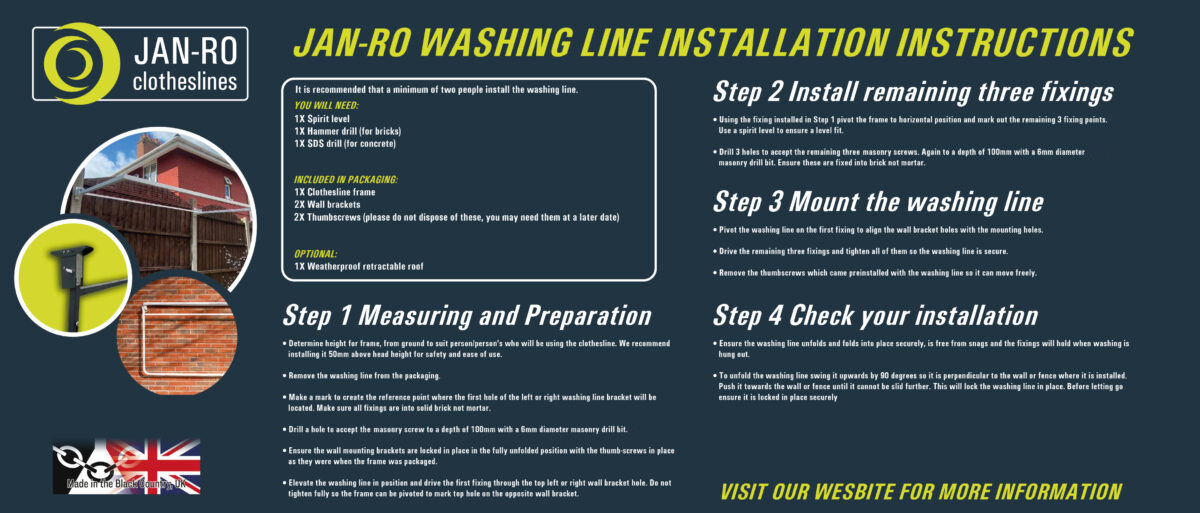
Janro Washing Line Installation
We’re sure that you’re very capable of single-handedly taking on a washing line installation, but we do recommend help. To avoid injuring yourself, shouting expletives, upsetting the kids, shocking the neighbours and being in a mood for the rest of the day, make this a two person job. One to install and one to hold the washing line.
WHAT YOU WILL NEED TO COMPLETE YOUR WASHING LINE INSTALLATION
- Spirit level
- Hammer drill (for brick)
- SDS drill (for concrete)
- Masonry screws (6mm diameter)
- 6mm diameter masonry drill bit
WHAT IS INCLUDED WITH THE PRODUCT?
- Clothesline frame
- Wall brackets
- 2 thumbscrews (which must be removed after installation and stored in a safe place to use if relocation of the washing line is needed)
STEP 1 MEASURING AND FIRST FIXING
- Determine height for frame from ground to suit person/persons who will be using the clothesline. We recommend installing it 50mm above head height for safety and ease of use.
- Remove the washing line from the packaging.
- Make a mark to create the reference point where the first hole of the left or right washing line bracket will be located. Make sure all fixings are into solid brick not mortar.
- Drill a hole to accept the masonry screw to a depth of 100mm with a 6mm diameter masonry drill bit.
- Ensure the wall mounting brackets are locked in place in the fully unfolded position with the thumb-screws in place as they were when the frame was packaged.
- Elevate the washing line in position and drive the first fixing through the top left or right wall bracket hole. Do not tighten fully so the frame can be pivoted to mark top hole on the opposite wall bracket.
STEP 2 INSTALL REMAINING THREE FIXINGS
- Using the fixing installed in Step 1, pivot the frame to horizontal position and mark out the remaining 3 fixing points. Use a spirit level to ensure a level fit.
- Drill 3 holes to accept the remaining three masonry screws – again to a depth of 100mm with a 6mm diameter masonry drill bit. Ensure these are fixed into brick not mortar.
STEP 3 MOUNT THE WASHING LINE
- Pivot the washing line on the first fixing to align the wall bracket holes with the mounting holes.
- Drive the remaining three fixings and tighten all of them so the washing line is secure.
- Remove the thumbscrews which came preinstalled with the washing line so it can move freely.
STEP 4 CHECK YOUR WASHING LINE INSTALLATION
- Ensure the washing line unfolds and folds into place securely, is free from snags and the fixings will hold when washing is hung out.
- To unfold the washing line, swing it upwards by 90 degrees so it is perpendicular to the wall or fence where it is installed. Push it towards the wall or fence until it cannot be slid further. This will lock the washing line in place. Before letting go, ensure it is locked in place securely.

